In the first article of my “On Trial” series with CodeceptJS, I introduced CodeceptJS and provided an example of a simple test suite to demonstrate some of CodeceptJS’s capabilities.
In this article, I’ll explain how to extend your CodeceptJS test suite to support mocks using an open source library called ng-apimock. To help explain this process I’ve created a basic Angular7 CRUD application that uses an ExpressJS API and MongoDB for persistence (via Mongoose).
As with all of my tutorials, the full code for this article can be found on github.
Mocking 101
Mocking is the process of simulating the behaviour of an object or dependency in order to test something in an isolated or specific way. Mocking is commonly used in unit and component testing to create mock instances of objects that functions or classes depend on. Many testing frameworks now feature advanced support for mocking straight out of the box. With end to end/UI testing, as is the focus of this article, tests are executed against a GUI or a web application, therefore the dependencies often mocked are HTTP requests to APIs.
There are many advantages to adding an HTTP/API mocking library to an application:
- It reduces the disruption caused when a dependent service goes down and takes time to be restored (which can often be the case, particularly if the service/infrastructure is beyond your control or provided by a vendor)
- The UI loads much faster because the application isn’t sending requests to external servers, therefore improving test execution times significantly
- It’s far easier to test complex scenarios such as HTTP errors, timeouts and complicated responses because you control the data
- It enables development/testing to occur against services that may not yet be developed (although there is risk of some rework when you actually integrate with the service if the API specification has changed)
Introducing ng-apimock
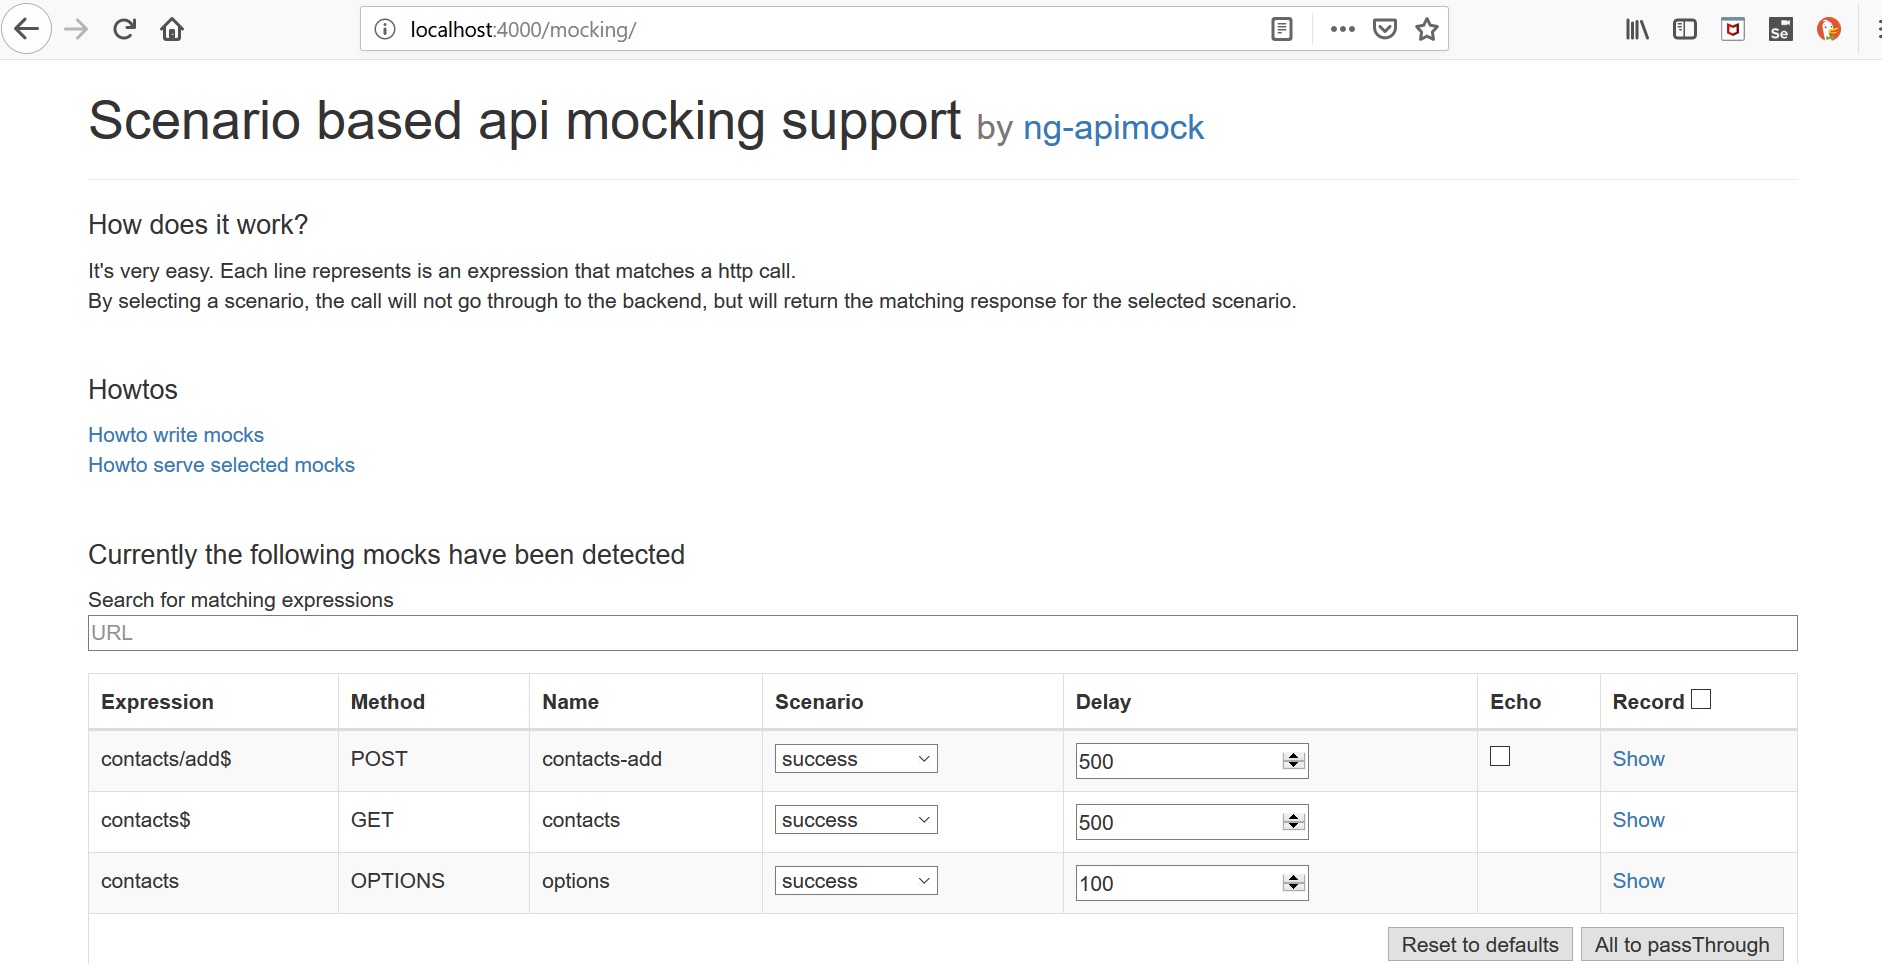
ng-apimock was chosen because it provides scenario based mocking, meaning specific mocks can be selected during test execution. Ng-apimock also provides a UI to modify the mock configuration which is particularly useful for local development or manual testing, has recording functionality and integrates with Protractor which includes support for parallel execution.

Although ng-apimock doesn’t directly integrate with CodeceptJS, it wasn’t difficult to add basic support for it by utilising CodeceptJS Helpers and the ng-apimock API. I hope to tidy this up and provide it as a CodeceptJS plugin for easier use in the near future along with mock support for parallel execution.
An example
There are a few key steps required to add support for mocks to your CodeceptJS test suite and these will be explained in detail. There’s also a working example of this setup available on my github with full instructions to run the tests in the README.md.
1. Add the ng-apimock library to your project
The first step is to add the ng-apimock library to your project. Execute the following command from the root directory of your project:
1 | npm i ng-apimock --save-dev |
2. Create a script to start the mock server
Next, you’ll need to create a script to start the mock server. There are multiple ways to do this, I chose to use ExpressJS in the example because I was already using that web application framework for the Contacts application. There’s some important configuration required as described in the ng-apimock documentation and you’ll most likely want to use the same port as the back end API so that you don’t need to change much of the client’s configuration to make it use the mock service.
1 | const ngApimock= require('ng-apimock')(); |
3. Configure your application to use the mock server
We want to make the application under test send requests to the mock server instead of the real back end service(s). In most cases, the easiest way to do this is to run the mock server on the same port as the API it’s mocking as explained in the previous section and ensure the request paths for the mocks match the real services. However, in some instances, the application may make requests to APIs running on other servers so we’ll need to route these to our mock server.
Angular provides a neat way of rerouting all traffic to a target (e.g. our mock server) by specifying a proxy configuration. To do this, create a file in the root of your project called api-proxy.json and set the –proxy-config flag in your ng serve npm run script or set the proxyConfig option in your webpack file. Detailed documentation about the Angular proxy can be found here.
1 | { |
4. Create some mock responses for various requests
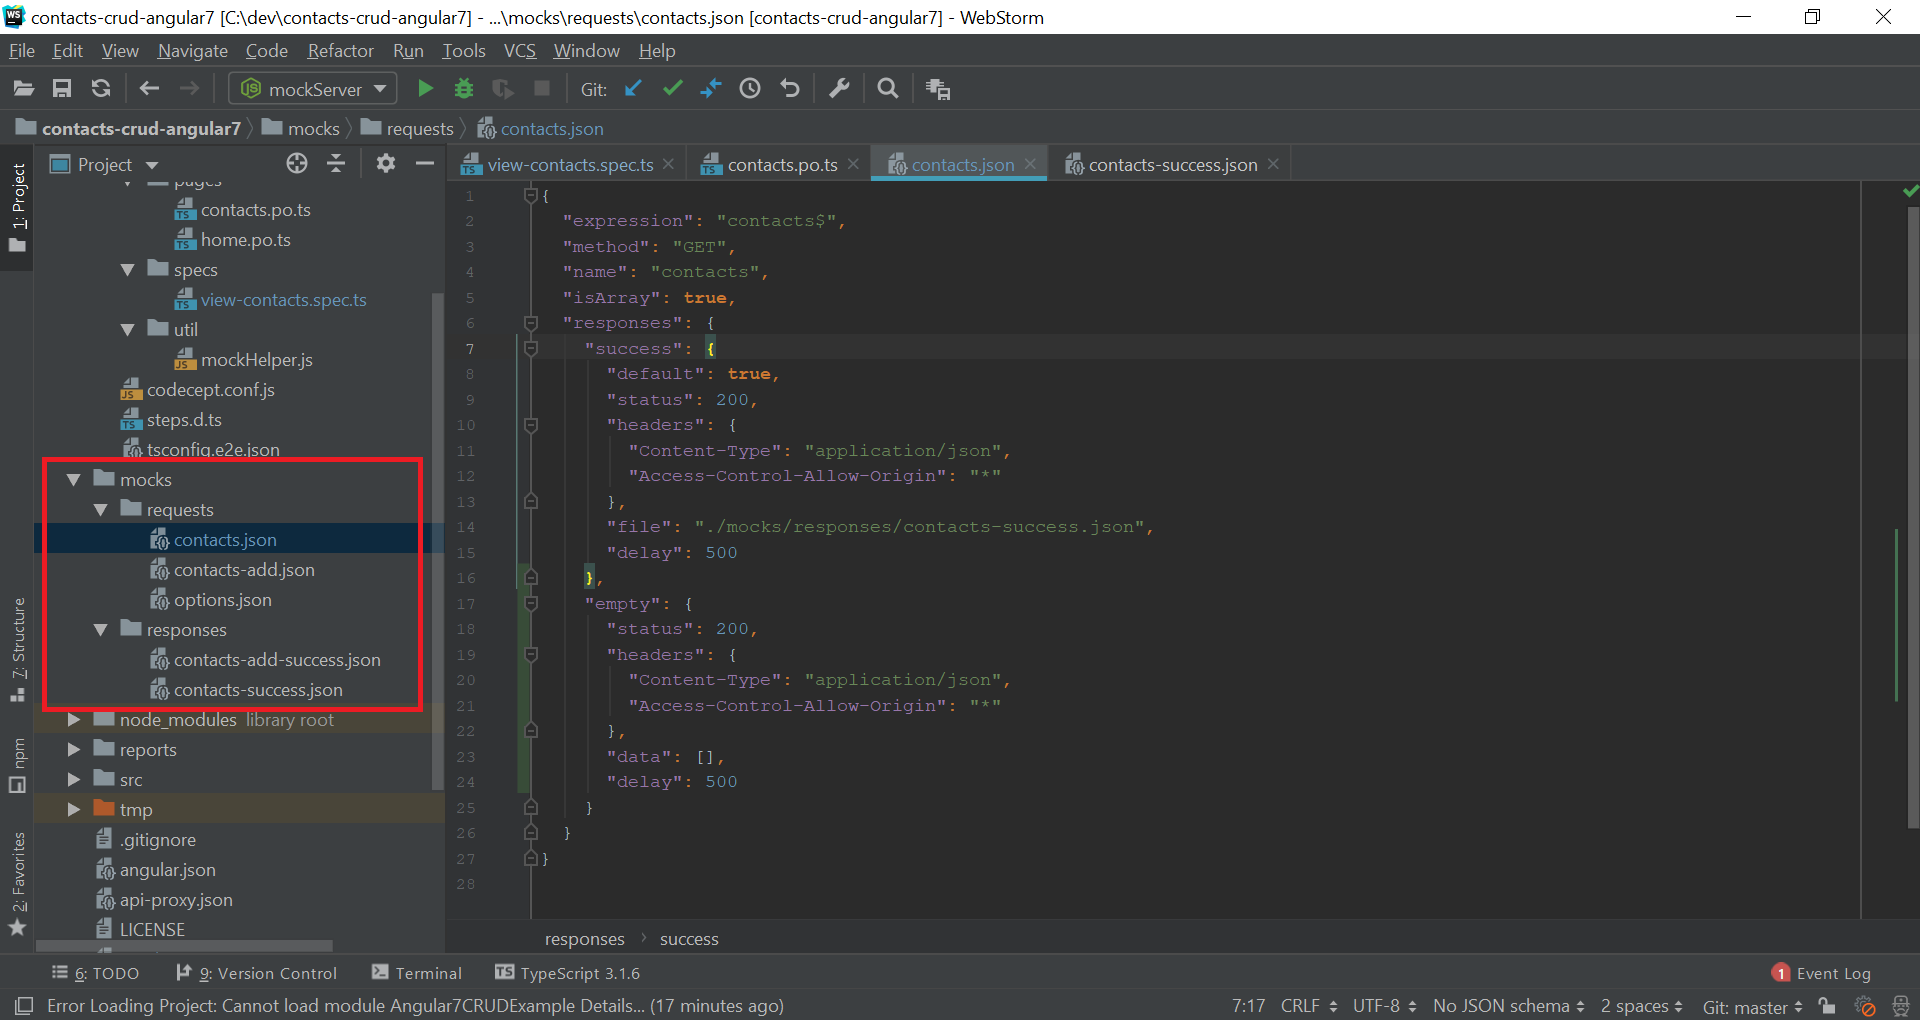
So now we have the mock server setup and our application is configured to use it, the next step is to create our mocks. In the root directory of your project create a new folder called mocks and two sub-folders within it called requests and responses. These folders will contain the files telling ng-apimock which endpoints are supported (path, HTTP method) as well as define the various responses. You can also set properties such as response headers, response time delays and more.
Your requests and responses should look similar to the screenshot below (taken of the Contacts application example project).

5. Add mock support to your CodeceptJS tests
The final step is to enable support for mocks in our CodeceptJS tests. We want to be able to control which mock response is returned by ng-apimock so that we can test the UI in lots of different scenarios and know what to assert on.
In your UI test directory (the e2e folder in the example project) create a new folder called util and a new file within it called mockHelper.js using the code below.
1 | ; |
Helpers are a core concept of CodeceptJS that provide access to some of the underlying features of CodeceptJS (such as lifecycle hooks) and are accessible via the I object. Therefore you can extend the functionality of CodeceptJS by creating custom helpers such us our mockHelper.
Next you’ll need to update the codecept.conf.js to load the custom mockHelper class. This is done by adding the following entry to the helpers section of the CodeceptJS config:
1 | helpers: { |
The mockHelper works by providing a function (selectScenario) that sends a request to the ng-apimock API to update the mock server configuration for our test scenarios. This function accepts two parameters: the identifier (usually the name of the API endpoint) and the scenario (the name of the response scenario to return e.g. successful, error-404, error-500, error-with-message, empty).
Lastly, update one of your spec files to use the new mockHelper selectScenario function:
1 | import {HomePage} from '../pages/home.po'; |
Now we’re ready to go. Run your tests by starting the client and mock server and running your CodeceptJS tests (you should add these as npm run scripts if you haven’t already):
1 | npm start |
Conclusion
This article provides a basic walkthrough of how to set up a CodeceptJS test suite to use mocks via ng-apimock. There are various enhancements that I hope to add to the example project in the near future and write an article about, these include moving the environment variables to configuration, extending the mockHelper class to support more ng-apimock features and automatically starting the client and mock server so that your tests can run easily in your CI/CD pipeline.
